Get Published! Our 5 Top Tips For Successful Photo Shoots For Interior Designers
We know that investing in professional photography is priority #1 for many of you who are interior designers and/or kitchen and bath designers - as the quality of the photography on your website, on your social channels and on your blog, IS your brand.
Because of Sam's extensive experience as a professional photographer and videographer (Sam is the Creative Director of www.savourpartnership.com) for many major food brands and for HGTV, The Food Network and The Travel Channel, we hope this post on Sam's *Top Tips For Successful Photo Shoots* will help many of you get published in 2018.
Ready?
Top Tip No. 1
THE IDEAL PHOTO SIZES AND RESOLUTIONS
Have your photographer deliver your photos to you in these sizes:
PRINT: 5000 px and 300 dpi
WEB: 2000 px and 72 dpi
Why?
Have you ever seen interior design magazines or books where the images appear a bit fuzzy? That's because the editors are working with *designer submitted images* that are less than ideal resolution and size, because the designer didn't know to ask their photographer for these sizes during the photo shoot. And, when the book or magazine editors don't have the production budgets to hire their own crews to re-shoot the rooms, they have to use those images.
So, the images appear pixellated in the magazine or book, and the designer feels disappointed that their beautiful interior design work will forever be seen that way.
For the web, you need smaller sizes.
Why?
Most screens won't accommodate a 5000 px image, and therefore if you try to upload one, the sides of your beautiful image will get cropped off!
So, for each image your photographer sends you, you want to ask them for it two ways:
5000 px and 300 dpi
+
2000 px and 72 dpi
This will not cost you extra and is very easy for your photographer to do, if he or she is asked to do it ahead of time.

TOP TIP No. 2
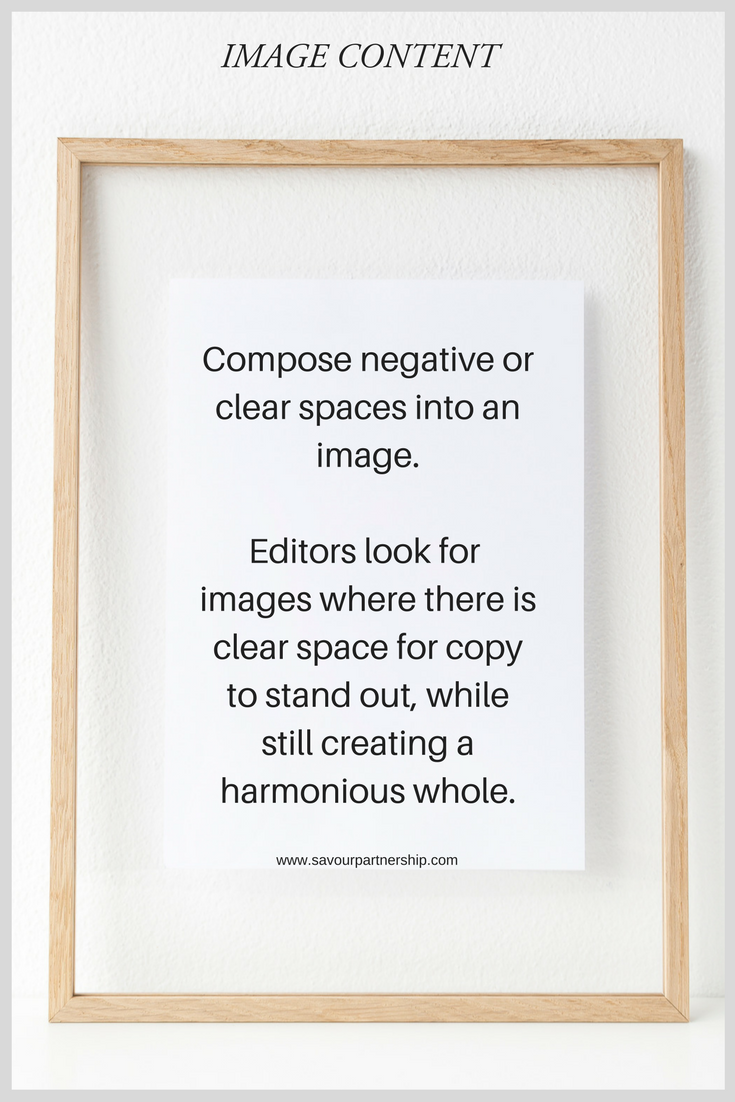
IMAGE CONTENT NEEDS TO CONTAIN NEGATIVE OR CLEAR SPACE FOR TEXT
Magazine editors are looking for images, especially for covers, where there is negative or *clear* space, where text can be laid out and seen, to create a harmonious whole.
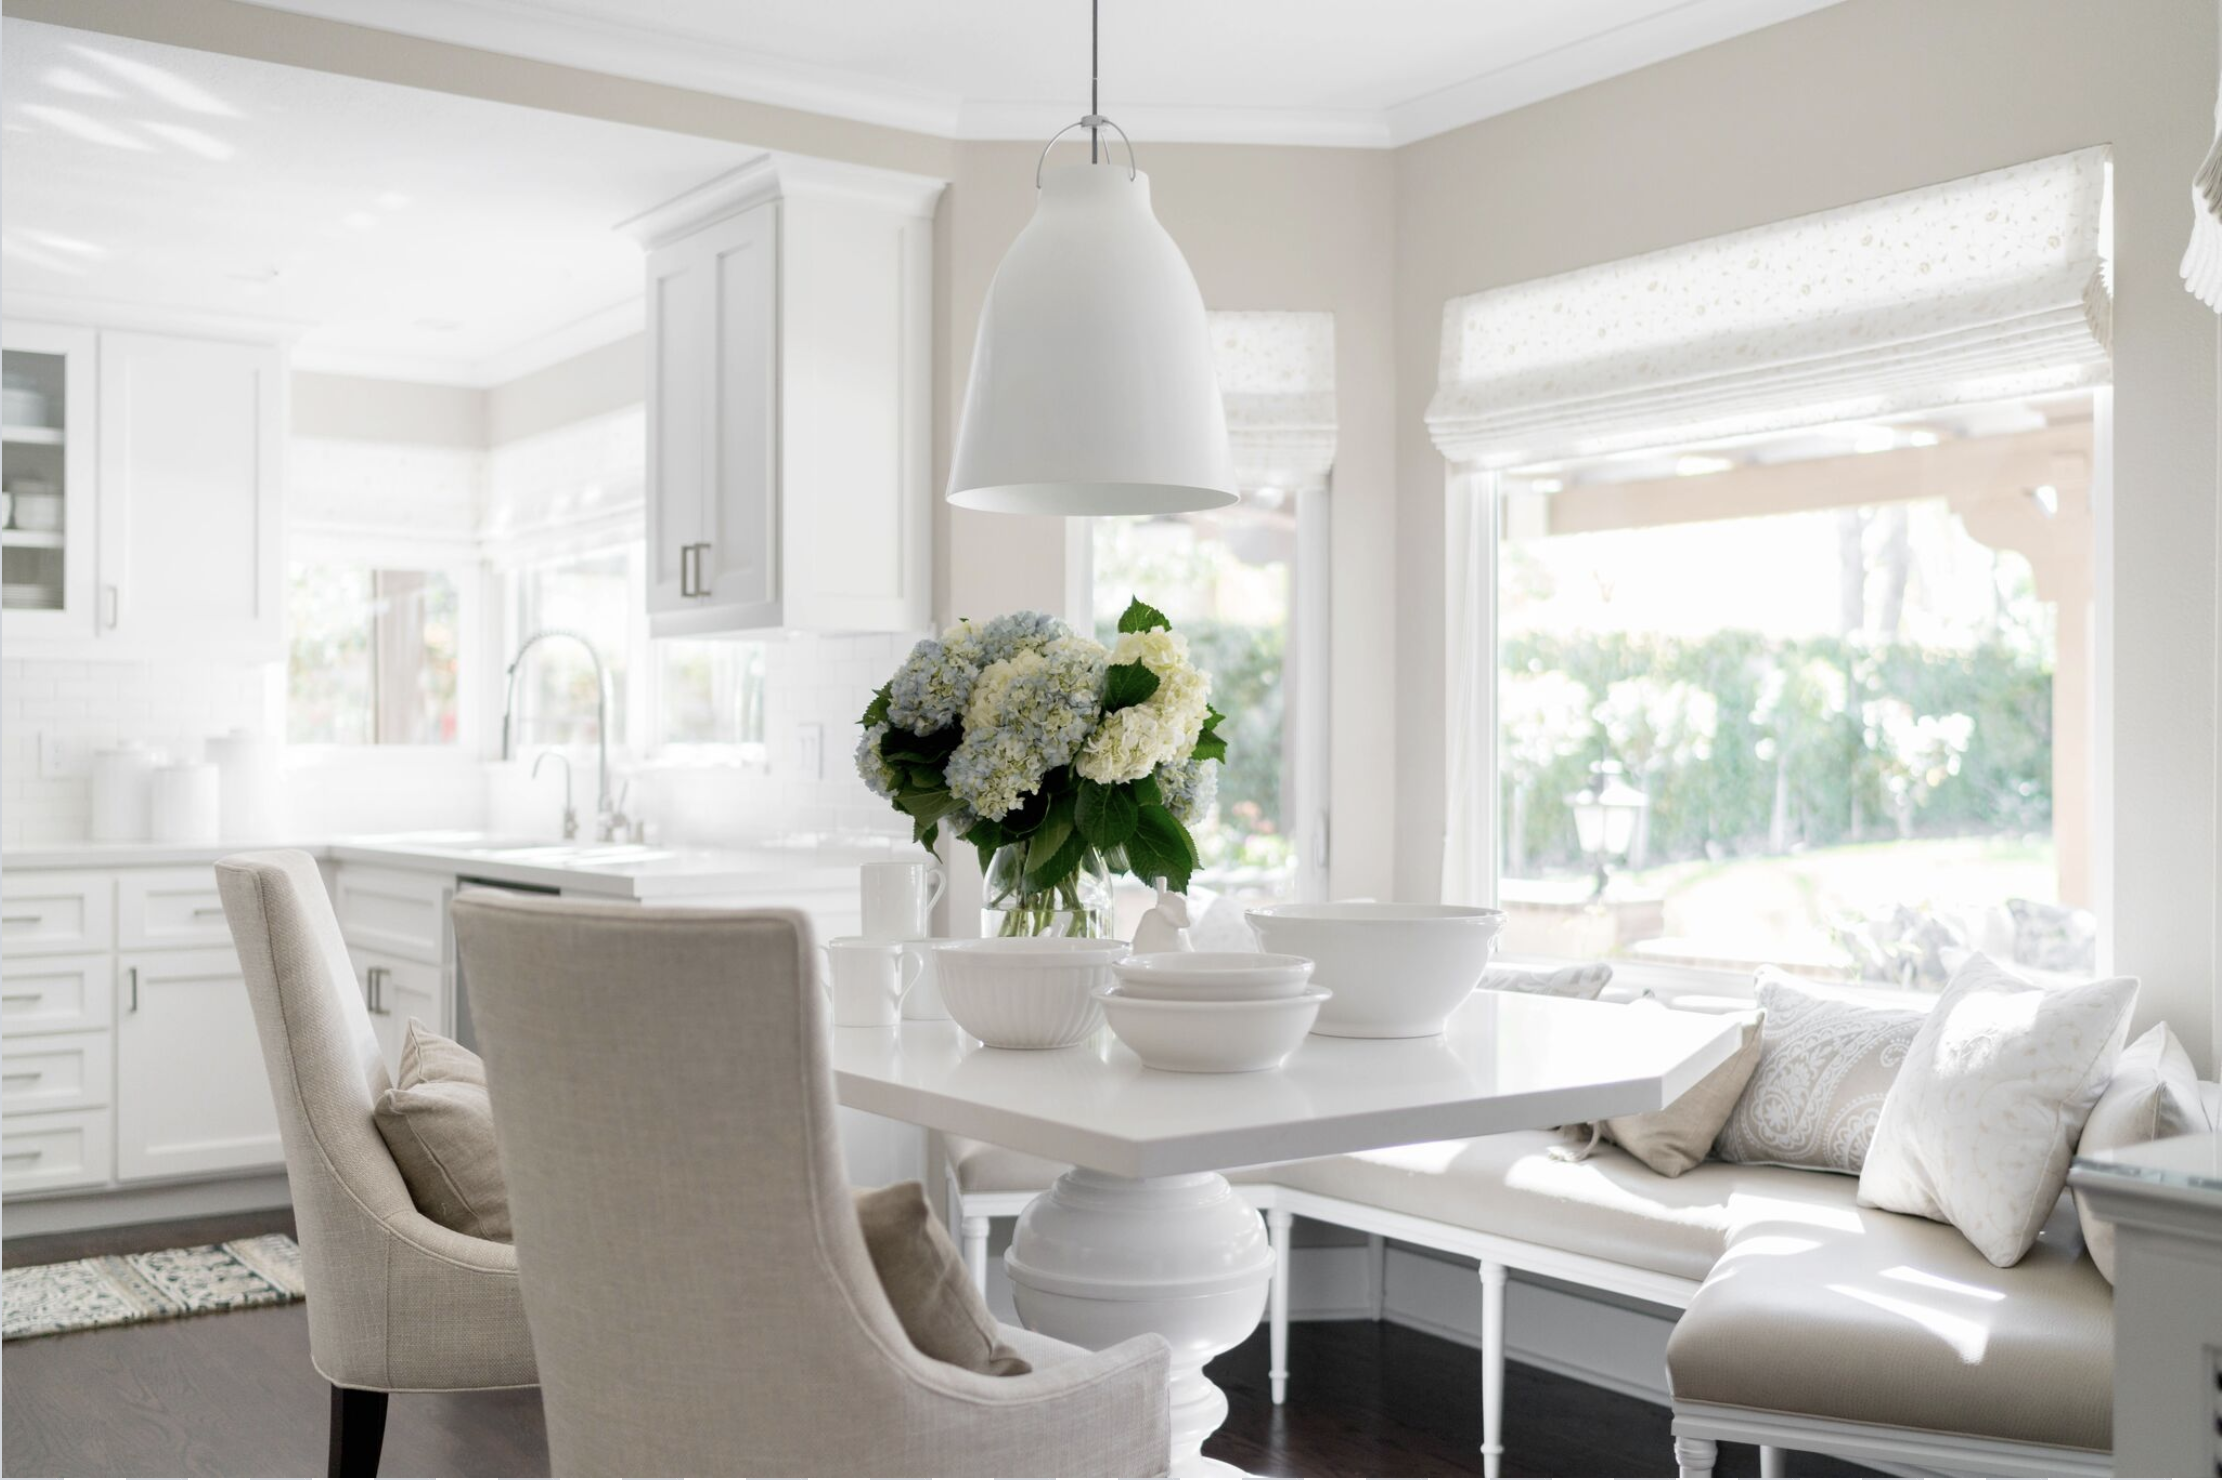
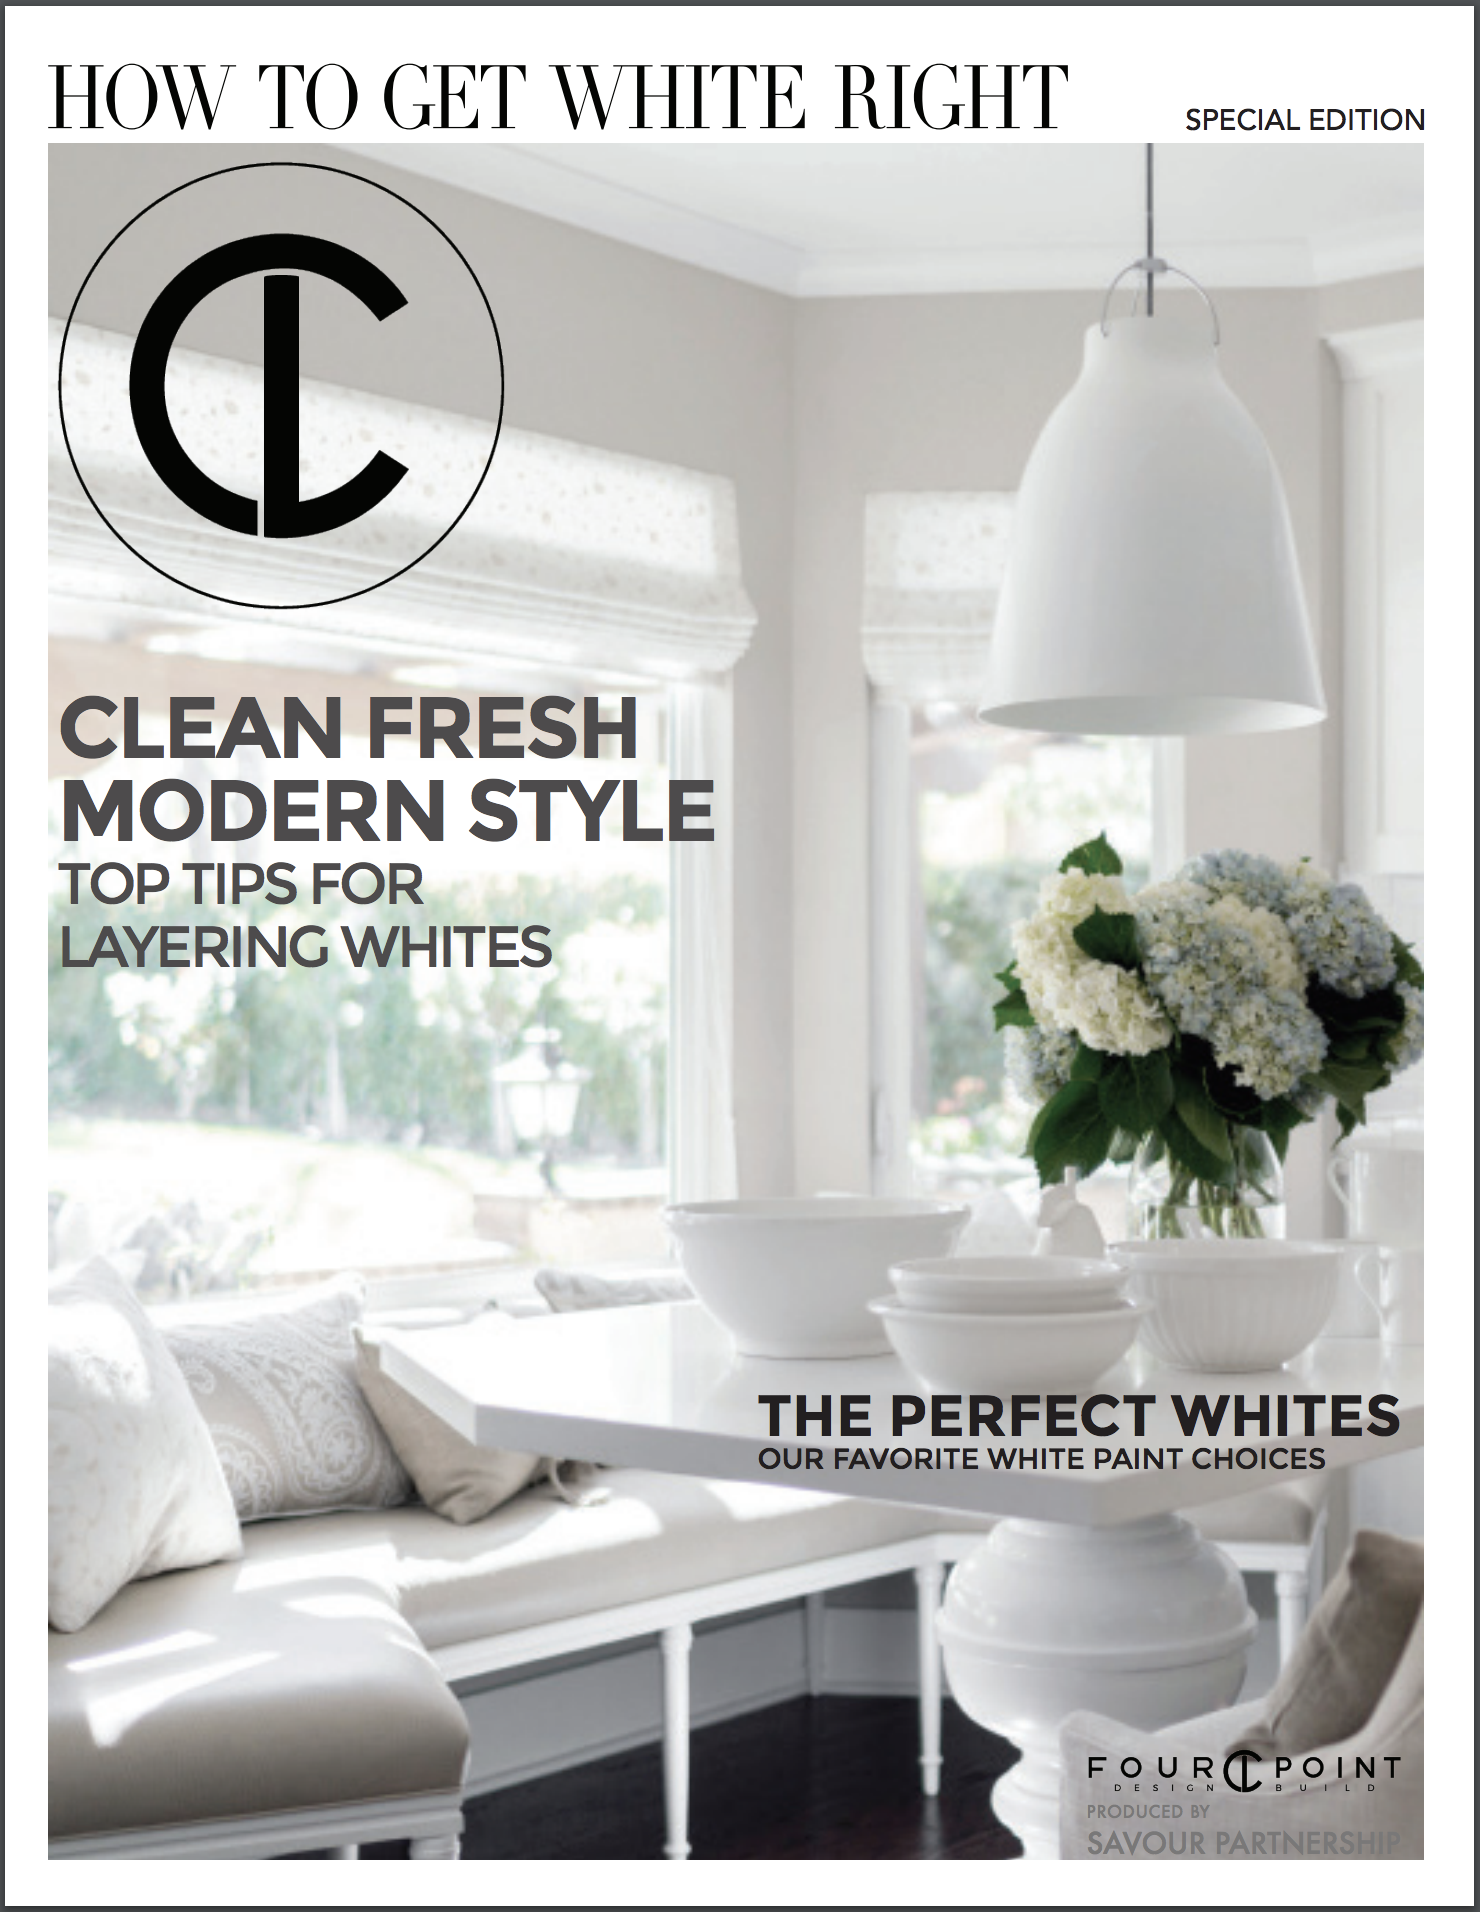
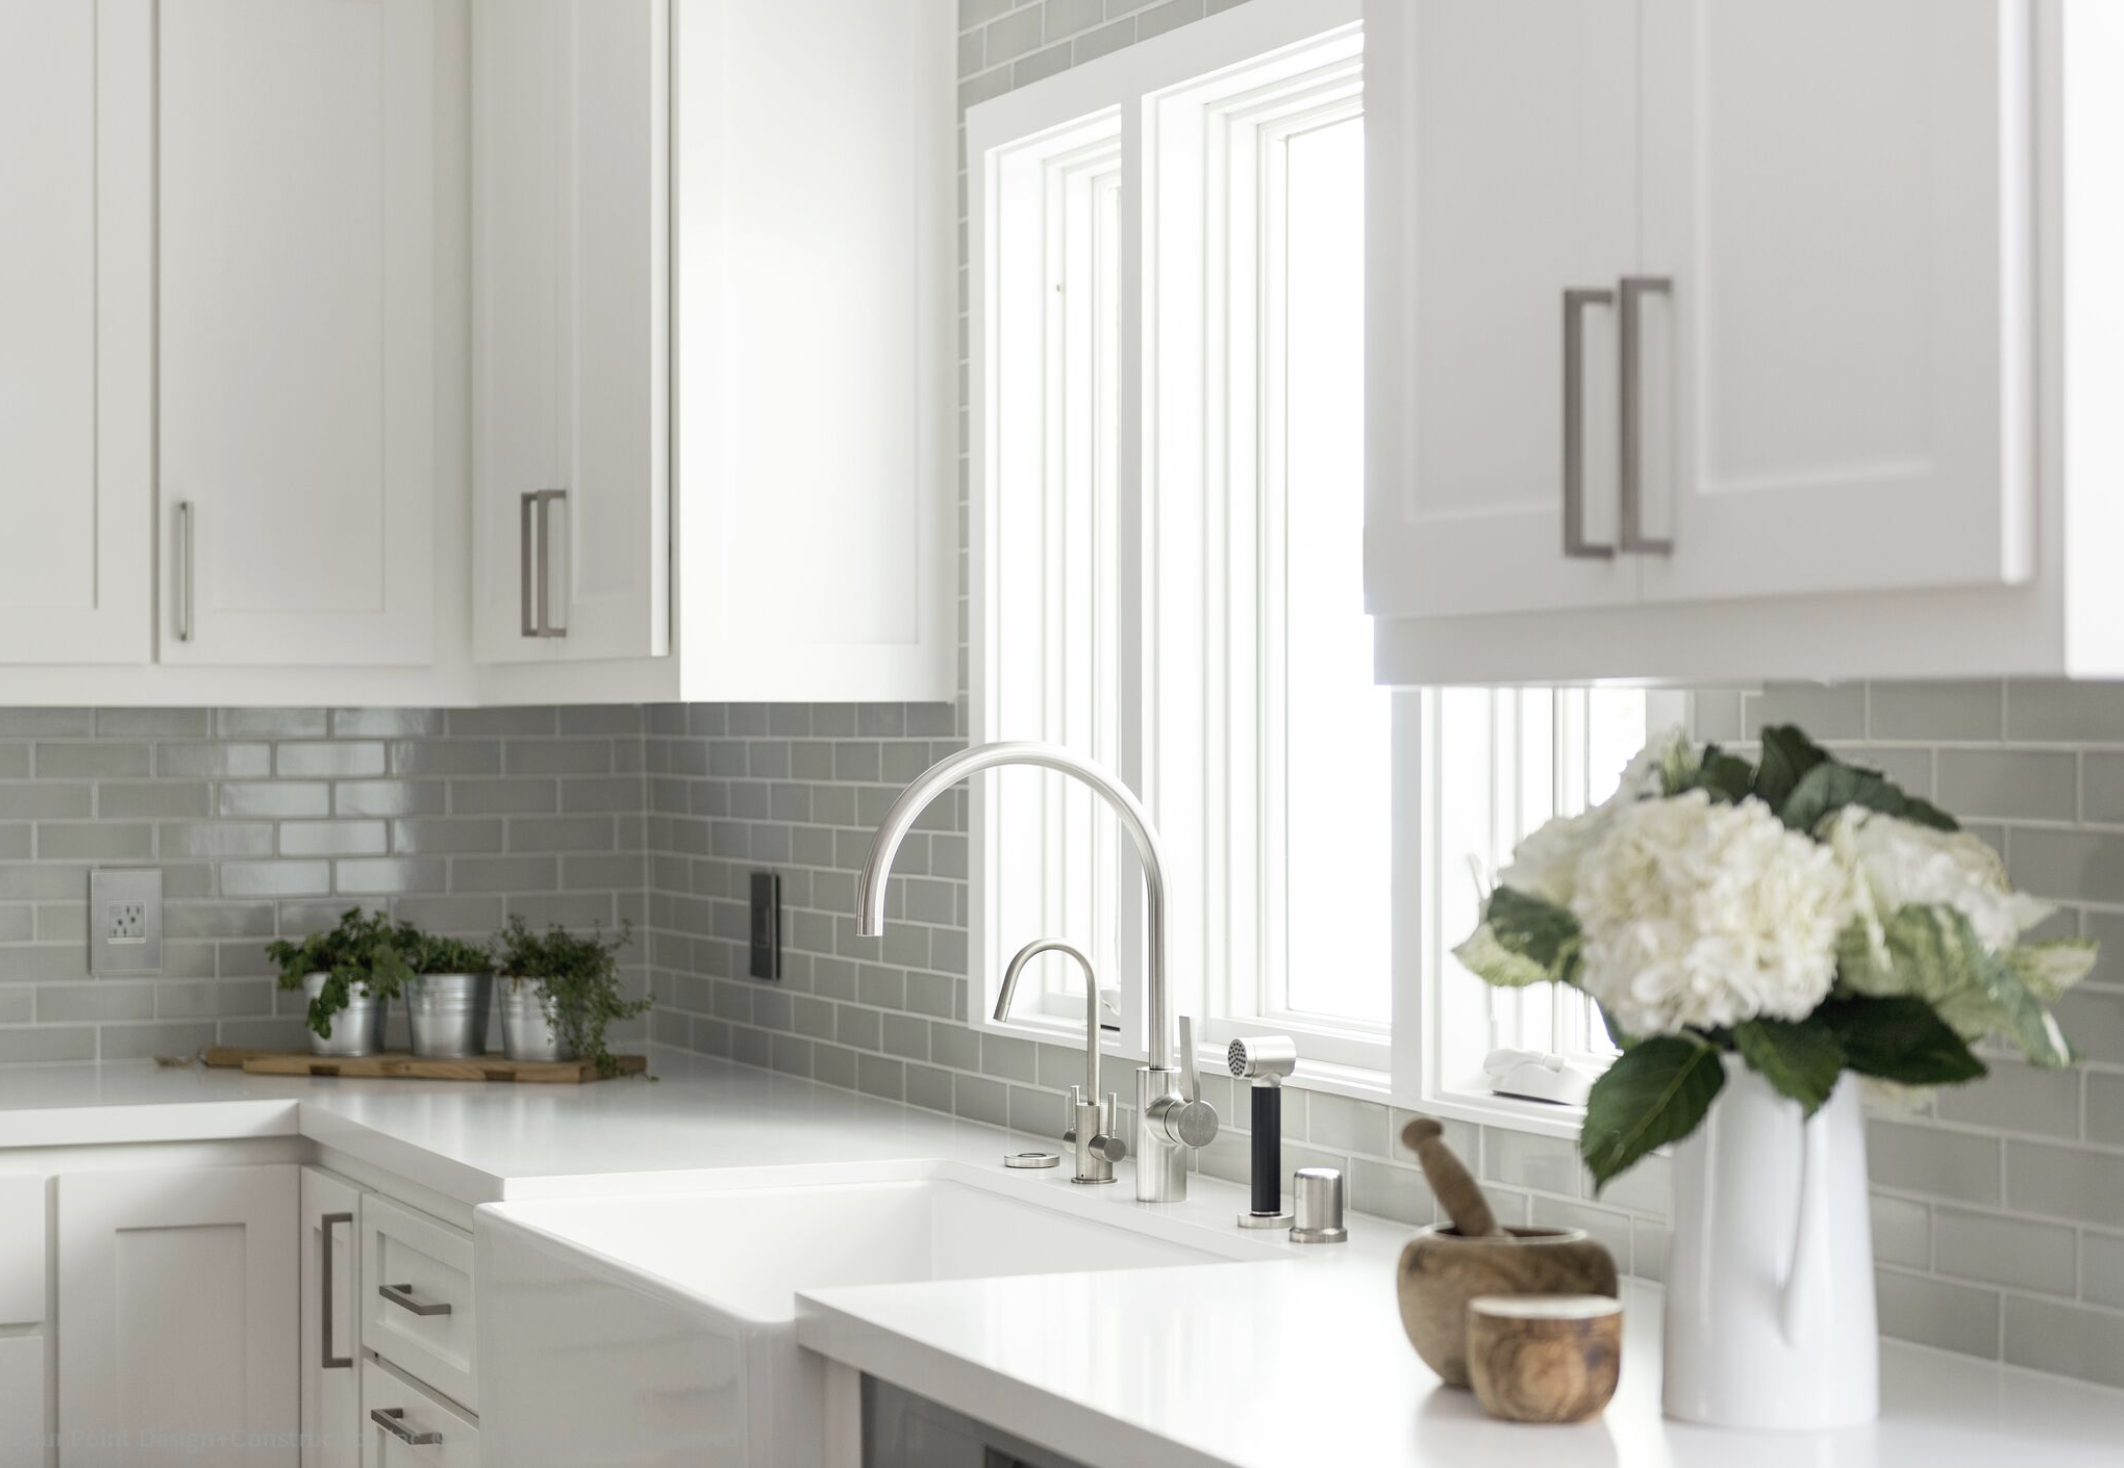
This beautiful image of a kitchen designed by Savour Partnership client, Laura Muller of Los Angeles based, Four Point Design Build, below, is a perfect example. Notice how there is plenty of clear space to lay out text so that it can easily be seen, without impacting the beauty of the overall composition.
Here you can see side by side examples of the image without text, and the image, flipped in Photoshop by Sam, to accommodate the text layout in the appropriate manner.

TOP TIP No. 3
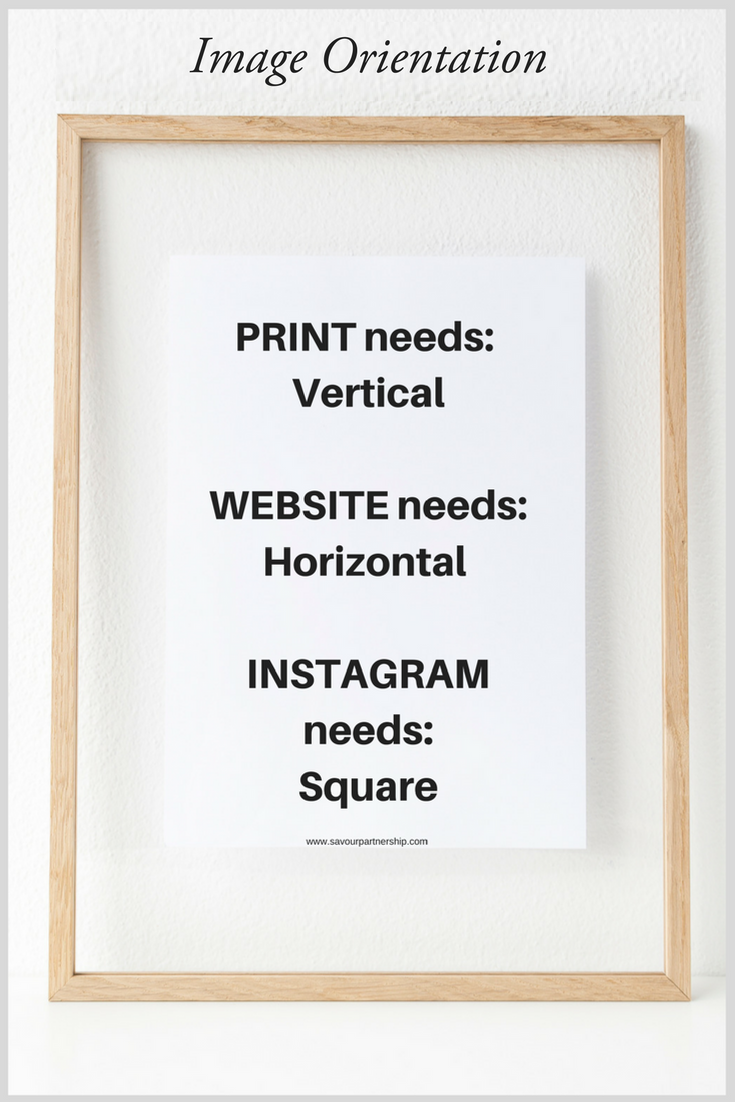
IMAGE ORIENTATION
Have your photographer frame the exact same shot, 3 different ways.
Why?
Print magazines will almost always want your shots in a vertical orientation, as they are working in a vertical format of 8.5' x 11".
Web based publications ( including the websites of magazines ), will almost always want your
image in a horizontal orientation, and, for Instagram, the orientation is square, 1060 px.
But, even more than this, ideally, you want to control what appears in the image. You don't want to have any style aspect of your image cropped, because you are not providing it to the publisher in the correct orientation.
So, ask your photographer to frame the same shot vertically, horizontally and square. You may have to move some of the furniture, plants an styling elements around, to make sure the shot still looks as beautiful in the various orientations, but this is normal on a professional photo shoot.
It is totally okay to submit the same image to a publisher ( in the correct size and dpi ) in different ways. They will think you are VERY SMART for doing that as it allows them maximum flexibility to decide how to use your images, and if you are lucky, it will appear in both print and on their website, and on their Instagram feed, in perfect orientation, resolution and with very little cropping!
To illustrate this, here is another Four Point Design Build project, that was previously featured on the cover of Better Homes and Gardens magazine, where the photographer was instructed to take the same shot with both a vertical and a horizontal orientation and where a wider angle shot was taken to capture a perfectly framed square image, for use on Instagram.


TOP TIP No. 4 :
Plan your shot lists to get images for other uses, that can help you with national branding and exposure.
A. CLOSE UP IMAGES.
For instance, if you have a beautiful new interior design job, and you want to submit it for regional or national publication, but you realize that these publications, especially the big national shelter magazines, can take up to 9 months to give you a yes or no answer, what do you do?
How do you still showcase it on your website, blog and social media channels to attract new clients, without diluting your opportunity to have it published nationally?
You plan CLOSE UP, detail shots to share on your social channels and on your blog, and you hold the full room shots to submit for publication.
This is the way every major national shelter magazine is now working, so do not fear putting CLOSE UP, detail shots of your latest work, online. For instance, the curve of a headboard, a vase of flowers, a close up of the tile floor, etc. These are all *sneak peeks*, and, when done well, actually build anticipation for the reveal of the full project in a major print or online publication.
And just like you, every major print or online magazine has as its goal to drive traffic to its advertiser's products, and its own... so the more you build anticipation, properly, the more you are really working in tandem with that publication to help THEM drive traffic to THEIR site, once they publish your project.
B. PRODUCT SHOTS FOR VENDOR USE
Plan your shot list to get product shots of those vendor's products you really want to support, and who are positioned (as all smart brands are now) to really support you, and will, through sharing your work on their own sites, blogs, and social channels.
For instance, see below how Caesarstone has made Four Point Design Build a *Featured Designer* on their site.
As you can see, because Four Point Design Build utilizes Caesarstone's product in so many of their projects AND because Four Point is intentional with their shot list and includes shots focused on featuring Caeserstone beautifully, Caesarstone has made them a Featured Designer.
In this way, Caesarstone is helping to build Four Point Design Build's national brand identity, and Caesarstone is driving their own site traffic back to Four Point Design Build while at the same time, Four Point Design Build is continuing to specify, sell and elevate the Caesarstone brand.
This is a win win partnership.
( We do this on our site, too, by featuring our clients and their work on our site, and linking back to their site, blog and social channels. You can see that here: http://savourpartnership.com/clients).

TOP TIP No. 5
TO GET PUBLISHED: KNOW YOUR STORY. KNOW YOUR POINT OF VIEW. EDIT ACCORDINGLY.
Before your photoshoot, plan, in your mind, and then with your photographer, the story you want to communicate with your images. Think through how the images might fit in with the content that a magazine's audience would want to be inspired by, or learn more about for their own homes.
A side note to help you get published: Almost every magazine publishes an editorial (content) calendar. Review that, before your photoshoot, to determine what content they are planning to feature in the coming months. Pick the content to submit for, that matches the work you are about to have photographed, and then plan your shot list so that the images can align, as well as possible, with that content. This will help you get published.
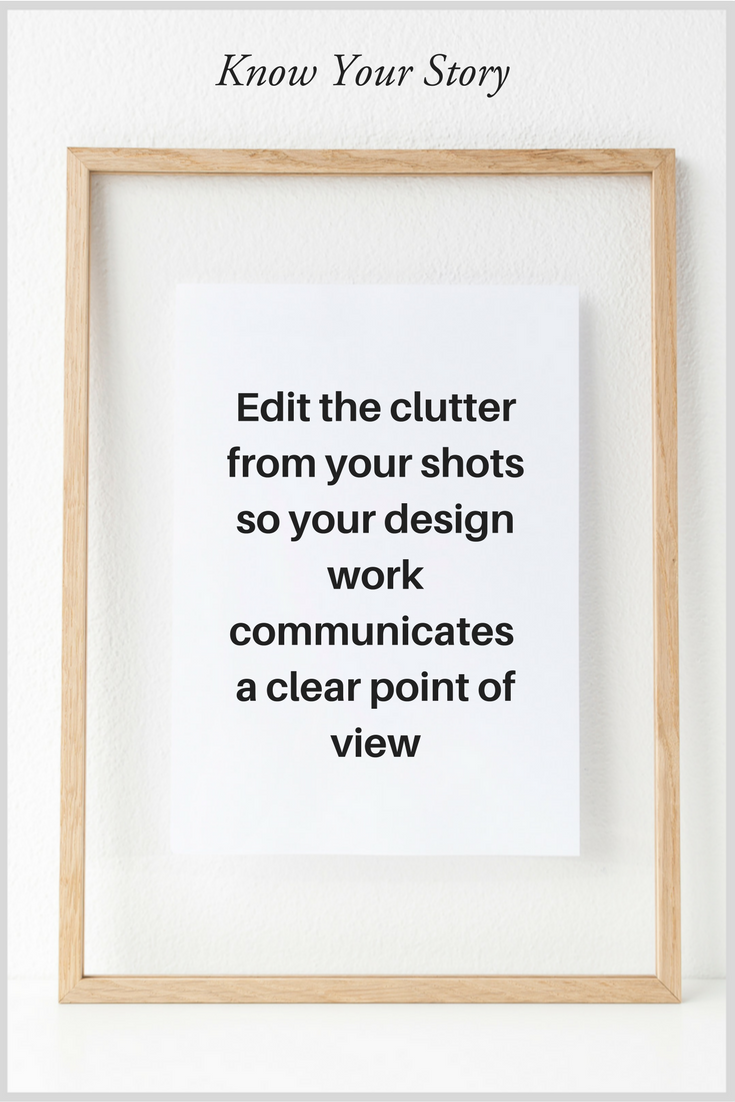
Back to the topic: edit your rooms carefully for visual clutter. This means taking out everything that is non-essential to the story you want the images to tell, and bringing in those styling elements that will help you tell your client's story - and the storyline of the magazine you're hoping to get published in - better.
Editors need clean, aspirational images, where every element in the image aligns with the content and story that will surround the image.
And, really, isn't this what great design IS all about?
Thoughtful editing to insure every element of your design for a client's home communicates their personal story with clarity, so that their home serves to elevate their experience of their life?
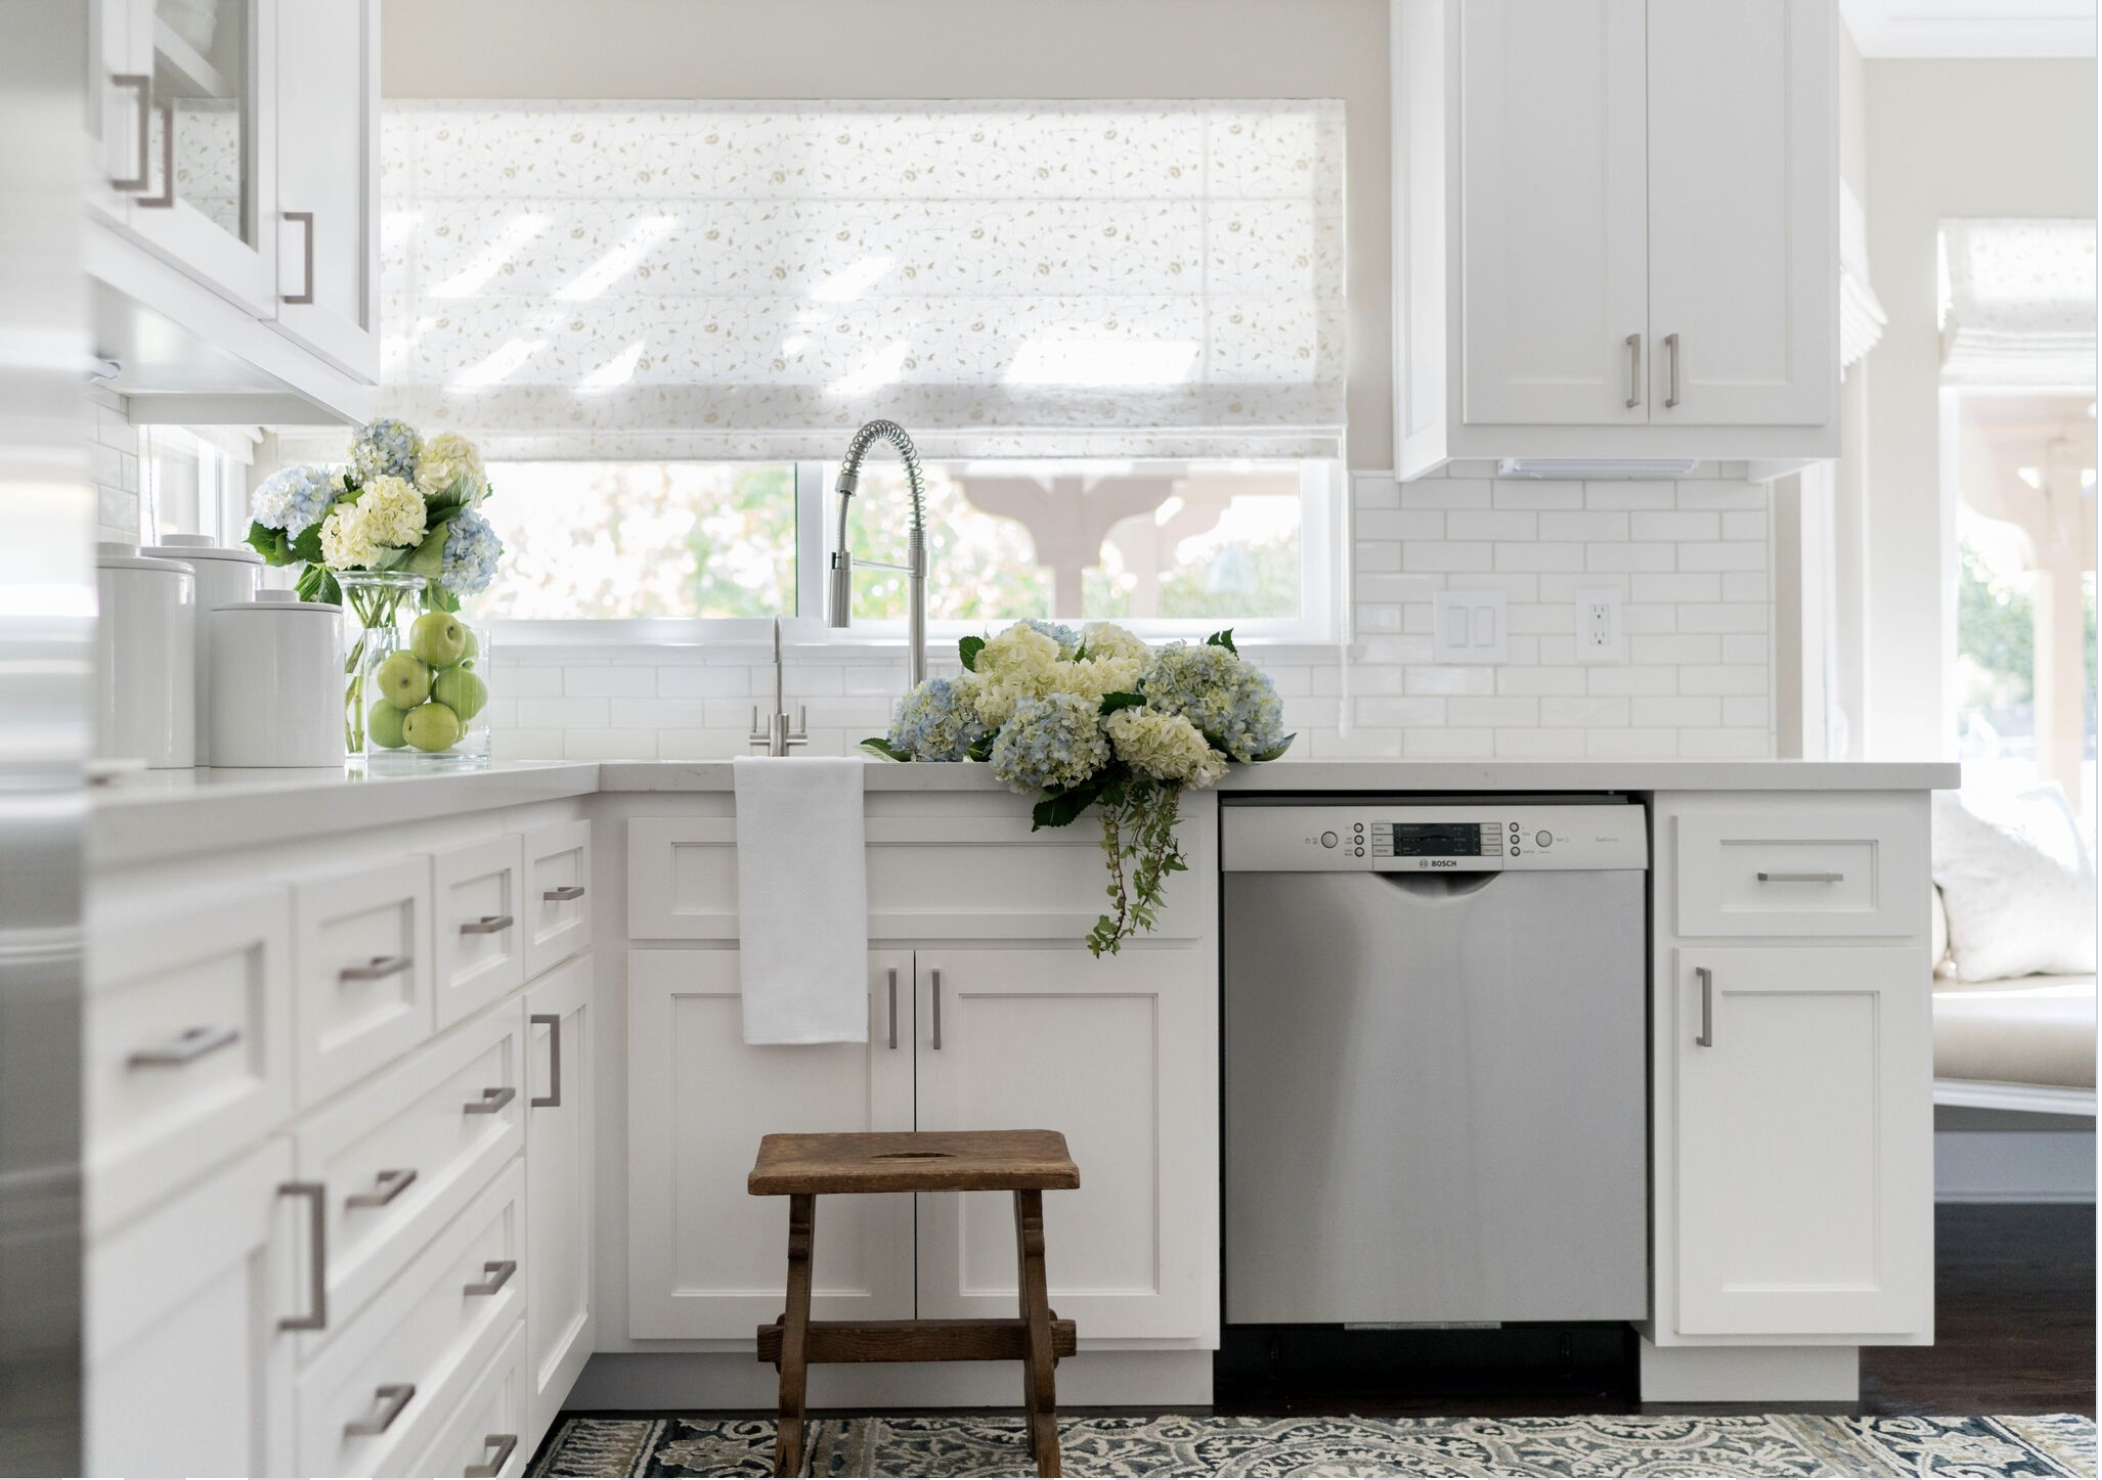
Notice the styling and editing of the image below, of a kitchen by Four Point Design Build, and how there is not a single element in it that is non-essential to the story they want to tell about the calm and peace inherent in their design work.
They have a point of view, and this is what every editor is looking for: well edited images that evoke an emotional response and communicate a clear point of view.
IN CLOSING:
We hope this post on our * 5 Top Tips For Professional Photoshoots For Interior Designers* will help your interior and/or kitchen and bath design work get published this year and, If you have more top tips to share, based on your experience, we would love for you to leave those tips in the comments, to help everyone learn!
We would also like to say thank you to our clients, Laura and Cliff Muller of Los Angeles based, Four Point Design Build, who so graciously gave us permission to use their photos to illustrate this post.
We invite you to subscribe to their blog, #The4PtReport, by clicking here. and downloading the mini-magazine we designed for them, where Laura shares the exact names and numbers of her favorite white paint choices, depending on your design style.
It's invaluable information for every designer, and every homeowner, who wants to get white paint, right.
~~~~
Lastly,
If you've found this article helpful, please consider sharing it within your blogs, Groups, and on your social channels. We would greatly appreciate it!
And, if we can help design a custom mini-magazine, or any other kind of e-publication, including e-books, online magazines, e-products, online courses, for you, too, please email us here:
leslie@savourpartnership.com
Thank you!
Leslie Carothers
Sam Henderson
www.savourpartnership.com
www.instagram.com/savourpartnership
www.facebook.com/savourpartnership
PS: We invite you to join our free Facebook Group!
http://facebook.com/groups/designwealth, if you're an interior designer or design blogger who would like to learn how to design wealth into your business and drive more traffic to your website or blog in 2019 and beyond!